Slow Cooked Round Steak: Tender & Flavorful
Slow Cooked Round Steak: Tender & Flavorful
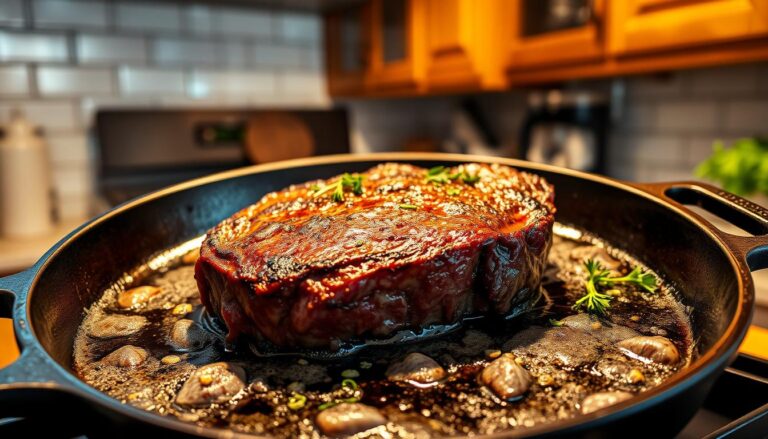
Ever come home after a long day craving comfort food but dreading the prep? Picture this: savory aromas filling your kitchen while tender beef simmers effortlessly in your crockpot. This isn’t a luxury reserved for weekends—it’s your new weeknight reality.
Developed with the Ohio Beef Council, this method transforms budget-friendly round steak into fork-tender perfection. While tougher cuts often get overlooked, low-and-slow cooking coaxes out rich flavors you’d never expect from such an economical choice.
You’ll need just five ingredients including onion soup mix and fresh veggies to create a hearty meal that tastes like you spent hours in the kitchen. The magic happens while you’re at work or running errands, making it ideal for hectic schedules.
We’ve tested every step to ensure your success, from seasoning tricks to timing guidelines. Trust the process: by dinner time, you’ll have juicy meat swimming in homemade gravy that’ll have everyone asking for seconds.
Table of Contents
Understanding the Round Steak Cut
Not all beef cuts are created equal some demand patience to unlock their full potential. The round area yields three distinct options: top, bottom, and eye varieties. Each offers unique textures that shine when treated properly.
Slow Cooked Round Steak Varieties Explained
Top round sits closest to the loin, making it slightly more tender than its counterparts. Bottom round carries more connective tissue, while eye of round remains the leanest. Though all three lack marbling, their dense muscle fibers transform beautifully under moist heat.
The Science of Low Heat Cooking
Tough proteins contain collagen that melts into gelatin during extended cooking. Your slow cooker maintains steady temperatures between 170-280°F—the sweet spot for breaking down fibers without drying the meat. This process turns chewy textures into fork-tender perfection.
Lean cuts like these often get labeled as “budget” options, but they deliver rich flavor when handled correctly. Choosing the right variety ensures your final dish has both substance and silkiness. Pair them with acidic ingredients like tomatoes or wine to accelerate tenderization.
Remember: Thicker cuts need longer cooking times. For best results, slice against the grain after cooking to shorten muscle strands. Your patience gets rewarded with succulent beef that rivals pricier cuts.
Selecting Quality Ingredients for Flavorful Meals
Quality ingredients transform simple recipes into extraordinary experiences. Your dish’s success depends on fresh components working together like musicians in an orchestra. Start with crisp vegetables and vibrant spices to build layers of taste that complement the beef’s richness.
Essential Spices and Seasonings
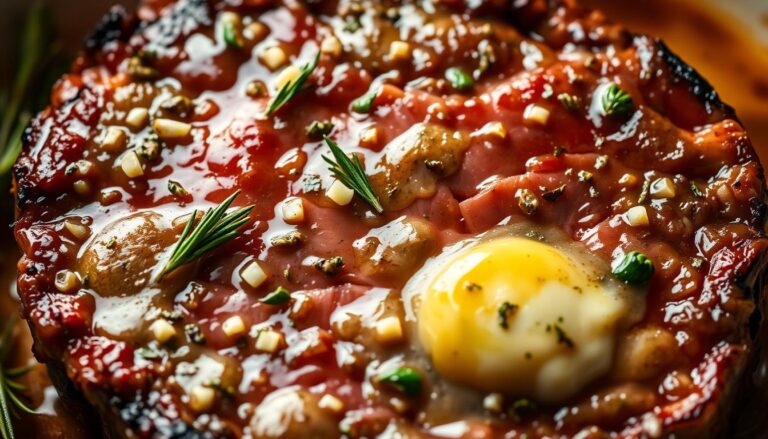
Salt acts as a flavor amplifier. Freshly ground pepper adds warmth. Combine them with garlic powder and Italian dressing mix for depth. These ingredients create a savory crust that seeps into the meat during cooking.
Yellow onions caramelize beautifully, releasing natural sugars. Pair them with earthy mushrooms for umami-packed gravy. Use twice as many onions as you think necessary—they shrink dramatically while simmering.
Choosing the Best Beef Cut
Look for bright red meat with minimal liquid in the package. Marbling isn’t crucial here, but uniform thickness ensures even cooking. Top round offers slightly more tenderness, while eye of round stays firmer.
| Cut Type | Texture | Best Use |
|---|---|---|
| Top Round | Moderately tender | Thin slices |
| Bottom Round | More connective tissue | Chunky pieces |
| Eye of Round | Lean & dense | Whole roasts |
Thicker cuts (1.5-2 inches) withstand long cooking without falling apart. Always pat the meat dry before seasoning—moisture prevents proper browning. Your ingredients should smell fresh, not overly pungent.
Prepping Your Slow Cooked Round Steak: Tools and Techniques
Your culinary success begins before you even press “start” on your appliance. Proper prep ensures ingredients cook evenly while absorbing maximum flavor. Start by wiping the insert with olive oil—this prevents sticking and simplifies cleanup.
Preheating and Layering for Maximum Flavor
Plug in your cooker 20 minutes before adding ingredients. This preheating step reduces overall cook time by jumpstarting the heat distribution. Layer sliced onions and mushrooms first—their moisture creates steam to tenderize meat from below.
Place seasoned beef over the vegetables, then add another onion layer on top. This sandwich method allows flavors to permeate the meat while preventing dryness. Pour broth measured by the cup never exceed two-thirds full to avoid spills.
Hamilton Beach models with programmable timers work best for precise heat control. Their oval shape accommodates larger cuts without overcrowding. Allow 15 minutes for prep time rushing this stage leads to uneven results.
Pro tip: Rotate the insert halfway through cooking if your appliance has heat zones. This simple adjustment guarantees every bite melts in your mouth.
Slow Cooked Round Steak: Essential How-To Tips

Mastering this dish hinges on balancing patience with precision. Follow these tested methods to transform humble ingredients into a savory masterpiece that clings to your ribs like a warm hug.
Step-by-Step Cooking Process
Start by seasoning your meat generously with onion soup mix. Place chopped vegetables in your cooker first they’ll act as a natural rack. Arrange the beef in a single layer, then pour in two cups of broth. Set to low hours (6-8) for optimal tenderness.
Add sliced mushrooms during the last 90 minutes. This timing preserves their texture without making them soggy. When the meat shreds easily with a fork, transfer it to a platter and tent with foil.
Monitoring Cooking Time and Temperature
Keep the lid closed—peeking adds 15-20 minutes to your cooking time. Use a thermometer to ensure internal temps reach 190-200°F, the sweet spot for collagen breakdown. Thicken the gravy by whisking cornstarch with cold water, then simmering the mixture for 5 minutes.
Remember: Cook low settings prevent toughness better than high heat. If your appliance lacks temperature control, stick to 7-hour cycles. Your reward? Velvety gravy draping over meat that falls apart at the slightest nudge.
Elevating Your Meal: Sides and Gravy Options
The final flourish of a memorable dinner lies in pairing choices. Your rich, savory main dish deserves accompaniments that highlight its depth while adding textural contrast. Let’s explore combinations that turn weeknight meals into restaurant-worthy plates.
Classic Creamy Mashed Potatoes Pairing
Silky mashed potatoes act like edible velvet for your gravy. Their mild flavor lets the meat’s juices shine while soaking up every drop of sauce. For extra richness, stir roasted garlic or sour cream into your spuds before plating.
Balance hearty portions by serving smaller scoops alongside crisp green beans. This creates visual appeal while preventing carb overload. Always warm your plates it keeps the gravy from cooling too quickly.
Creative Alternatives for a Delicious Plate
Not a potato fan? Try buttered egg noodles or jasmine rice. Their neutral bases let the gravy’s savory notes take center stage. For lighter options, roasted carrots or garlicky spinach add freshness without overwhelming the palate.
Arrange your protein slightly off-center on the plate. Drizzle sauce over both meat and sides to unify flavors. Garnish with parsley or chives for a pop of color that says “chef-crafted” without extra work.
Remember: Great meals balance textures and temperatures. Hot gravy over cool coleslaw creates exciting contrasts. Mix earthy mushrooms into your sauce for added complexity that keeps guests guessing.
Cooking Techniques and Temperature Insights

Your appliance becomes a flavor laboratory when you master heat management. While time plays a role, true tenderness emerges from precise temperature control. This approach works wonders for cooker round dishes, especially when dealing with leaner cuts that need careful handling.
Optimizing Low and Slow Methods
Set your cooker round steak between 195-205°F for optimal collagen breakdown. Temperatures below this range leave meat chewy, while higher heat dries it out. Use a probe thermometer to monitor progress without lifting the lid every peek releases valuable steam.
Seasoning mix application matters more than you think. Rub spices directly onto the cut meat 30 minutes before cooking. This dry brine draws moisture to the surface, creating a concentrated flavor crust that penetrates during the long cook.
| Cut Type | Ideal Temp | Cook Time |
|---|---|---|
| Top Round | 200°F | 7-8 hours |
| Bottom Round | 195°F | 8-9 hours |
| Eye of Round | 205°F | 6-7 hours |
Thicker cuts benefit from rotating halfway through cooking. Flip top round portions to ensure even exposure to heat zones. For stews, cut meat into uniform chunks this prevents some pieces from overcooking while others remain tough.
Remember: Acidic ingredients like tomato paste accelerate tenderization. Add them during the last two hours to maintain their bright notes. Your cooker round masterpiece achieves perfect texture when a fork slides through with zero resistance.
Adapting Recipes for Different Tastes
Your kitchen becomes a canvas when recipes adapt to your cravings. Personal preferences and busy schedules demand flexibility luckily, this dish thrives on creative adjustments. Let’s explore how to tweak flavors and streamline meal prep without sacrificing quality.
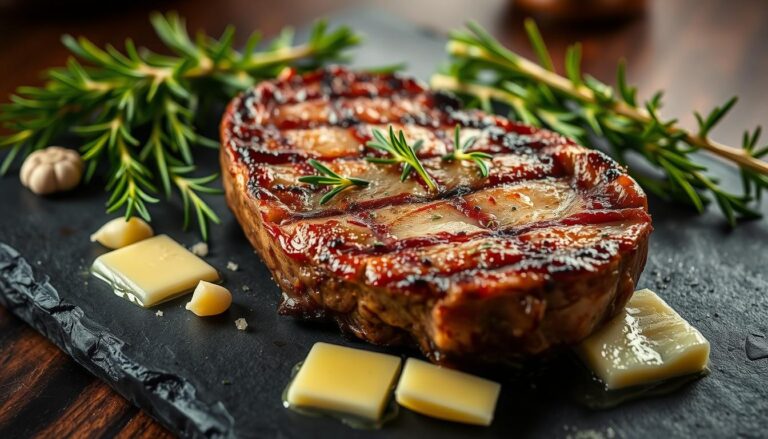
Flavor Twists That Elevate Basics
Swap onion soup mix for smoked paprika and cumin if you crave Southwest flair. Add chili flakes or diced jalapeños for heat lovers. Prefer earthy notes? Rosemary and thyme blend beautifully with the meat’s richness. Always taste your seasoning blend before applying adjust ratios until your tongue approves.
Vegetable additions transform the dish seasonally. Try bell peppers in summer or parsnips during colder months. Acidic ingredients like balsamic vinegar brighten heavier flavors when added during the last two hours.
Smart Strategies for Future Meals
Double the recipe and freeze portions in airtight containers. Label with dates cooked beef stays fresh for 3 months. Reheat gently with a splash of broth to restore moisture. Batch cooking saves time while ensuring weekday dinners stay exciting.
| Storage Method | Duration | Reheating Tip |
|---|---|---|
| Refrigerator | 4 days | Low heat + gravy |
| Freezer | 3 months | Thaw overnight |
| Vacuum-sealed | 6 months | Boil in bag |
Use your printer to create recipe cards with blank “add-ins” sections. This lets you document successful experiments for repeat meals. Your future self will thank you when hunger strikes and inspiration wanes.
Conclusion
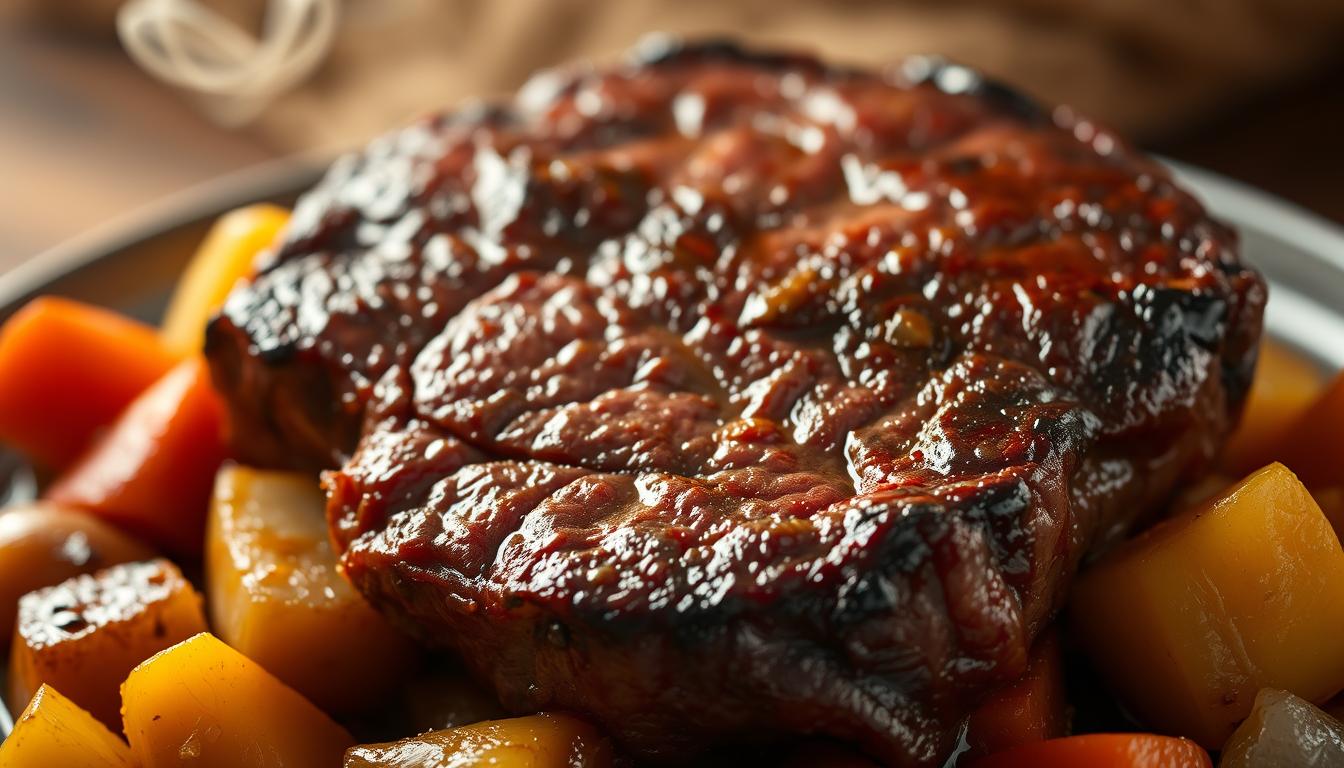
Transform tough cuts into gourmet meals without breaking a sweat your slow cooker does the heavy lifting. Through low heat and patience, even bottom round becomes fork-tender, proving budget-friendly choices can dazzle taste buds. This method melts connective tissue while preserving moisture, turning lean proteins into succulent masterpieces.
Higher fat content in some cuts? No problem. Precise temperatures render it into rich, velvety gravy that coats every bite. You’ll savor restaurant-quality results using basic kitchen tools and minimal prep work.
The slow cooker round approach proves economical cuts deserve center stage. Follow our tested steps to build confidence and a dish that impresses families or guests. Print the recipe, tweak seasonings to your liking, and make it your signature weeknight solution.
Share your success with friends who think tender beef requires expensive cuts. Once they taste how bottom round shines in your kitchen, they’ll demand your secret. Dinner victories await one press of the start button at a time.
FAQ
What makes round steak ideal for slow cooking?
This lean, budget-friendly cut has dense muscle fibers that break down gradually under low heat, transforming into tender, juicy meat. Slow cooking ensures it stays moist and absorbs flavors from spices, broth, or vegetables.
Can I use top round instead of bottom round for this recipe?
Yes! Both cuts work well, but bottom round has slightly more marbling, which enhances tenderness. Top round is leaner, so adjust cooking time by 30–60 minutes to prevent dryness.
How do I prevent the meat from becoming tough?
Keep the cooker on low heat for 6–8 hours. Avoid lifting the lid frequently, as temperature fluctuations can toughen the beef. Adding acidic ingredients like tomatoes or vinegar also helps tenderize it.
What’s the best way to layer ingredients in the slow cooker?
Place chopped onions, carrots, or celery at the bottom to create a flavorful base. Position the seasoned beef on top, then pour broth or gravy over it. This setup ensures even heat distribution and richer taste.
Can I make gravy directly in the cooker?
Absolutely. After cooking, remove the meat and vegetables, then mix cornstarch with cold water and whisk it into the remaining juices. Set the cooker to high for 15–20 minutes until thickened.
What sides pair well with slow-cooked beef?
Creamy mashed potatoes, buttered green beans, or roasted root vegetables are classic choices. For a twist, try polenta, garlicky spinach, or crusty bread to soak up the savory gravy.
How long can I store leftovers?
Refrigerate cooked beef in an airtight container for up to 4 days. For longer storage, freeze portions with gravy for 2–3 months. Reheat gently on the stove or in a microwave to retain moisture.
Can I add mushrooms or other veggies halfway through cooking?
Yes! Delicate vegetables like mushrooms or peas should be added during the last 1–2 hours to avoid overcooking. Hearty veggies like potatoes or carrots can go in from the start.