Savory Round Steak: Recipes for Tender, Flavorful Meals
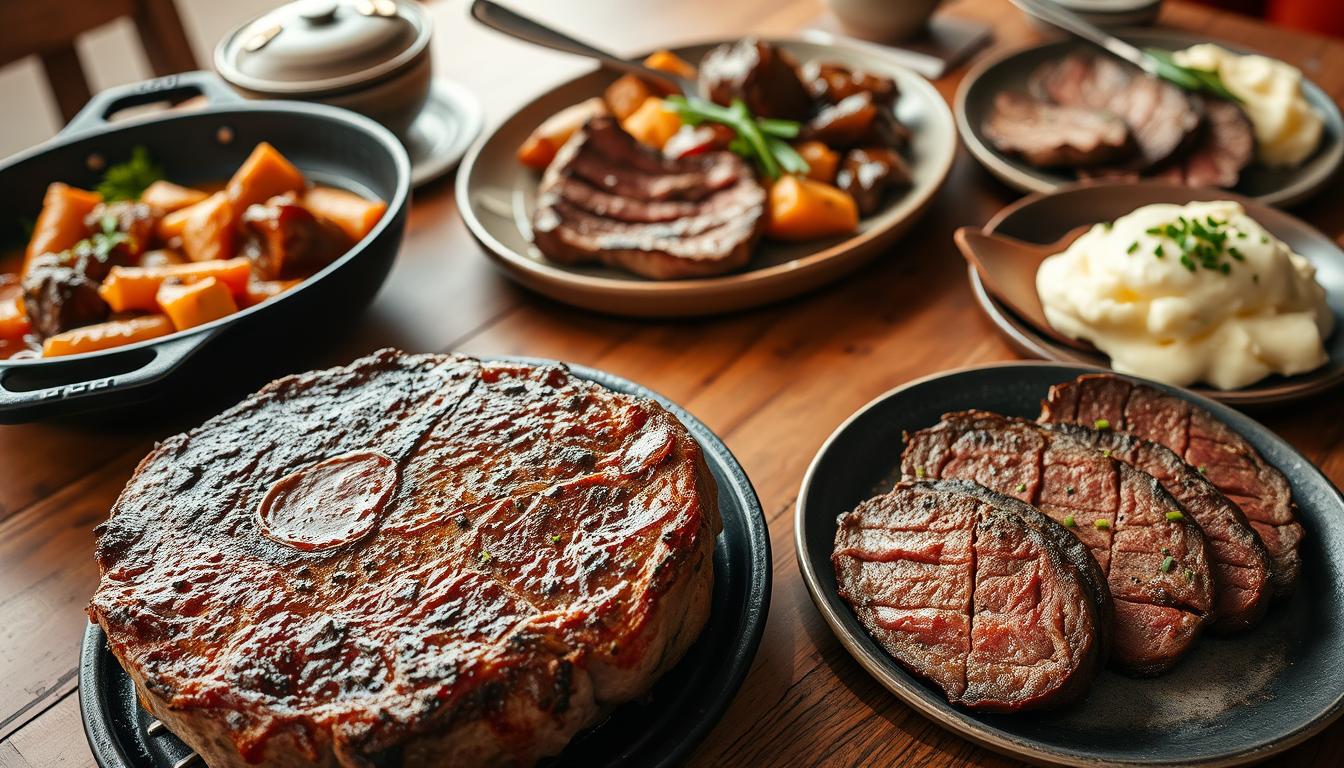
There’s something deeply comforting about a hearty beef dish that fills your kitchen with warmth. Maybe it reminds you of Sunday dinners growing up, or perhaps it’s the satisfaction of transforming an affordable cut into something extraordinary. If you’ve ever hesitated to cook with round steak, thinking it might turn out tough or bland, this guide is here to change your mind.
We’ll walk through simple techniques to unlock tenderness and rich flavor, whether you’re using an Instant Pot, slow cooker, oven, or air fryer. You’ll learn how to select the best quality beef at your grocery store, why pre-tenderizing matters, and how a good sear can make all the difference. From classic gravy-smothered recipes to modern twists, these methods ensure your meals never feel boring.
Craving that melt-in-your-mouth texture? It starts with the right ingredients and a little patience. We’ve also included pairing ideas like buttery mashed potatoes and crisp green beans to round out your plate. Let’s turn that humble cut into a dish worthy of your dinner table no fancy skills required.
Table of Contents
Understanding the Round Steak Cut
Choosing the right cut of beef can transform your cooking from ordinary to exceptional. This lean, affordable option comes from the cow’s rear leg a muscle-heavy area that requires smart preparation. Let’s break down what makes it unique and how to shop wisely.
Breaking Down the Subcuts
Three main types dominate the category: eye, bottom, and top round. The eye cut is the most tender, perfect for roasting. Bottom works best in slow-cooked dishes, while top offers versatility for slicing or grilling. Look for bright red color and minimal marbling signs of freshness.
Smart Shopping Strategies
Thickness matters most. Aim for 1-2 inch slices to balance cooking time and tenderness. Ask your butcher to pre-slice it—this saves money and prep work. Check weekly ads for sales, especially around holidays when prices drop.
Freshness isn’t just visual. Sniff the packaging you should catch a mild, clean scent, not strong odors. When seasoning, pair it with sharp onion powder or cracked black pepper to enhance its natural flavors. Knowing these details helps you pick the best option for your recipe without overspending.
Cooking with Round Steak: Techniques for Tender, Flavorful Meals

Mastering a few key steps can turn even budget-friendly cuts into restaurant-worthy dishes. The secret lies in balancing preparation methods that enhance texture while amplifying natural flavors. Let’s explore how to elevate your approach.
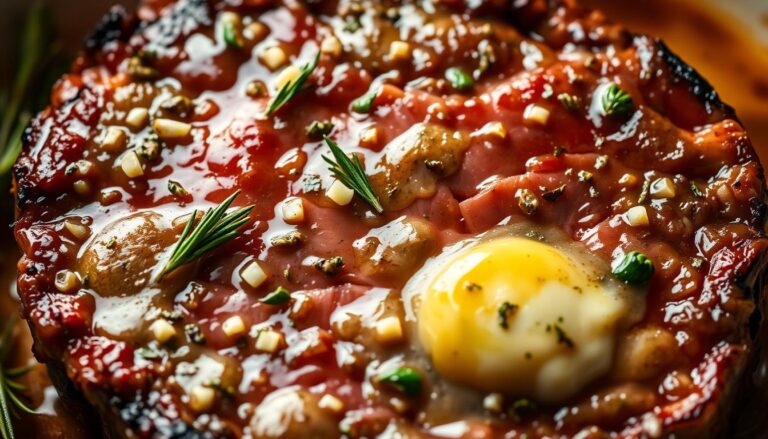
Seasoning and Pre-Tenderizing Your Meat
Start by placing the beef between plastic wrap. Gently pound it with a meat mallet until uniformly thin this breaks down tough fibers. For seasoning, mix kosher salt, cracked black pepper, and minced garlic. Rub this blend generously on both sides.
Let it rest for 15 minutes. This allows the salt to penetrate deeper, ensuring every bite stays juicy. Avoid over-seasoning simple combinations work best with lean cuts.
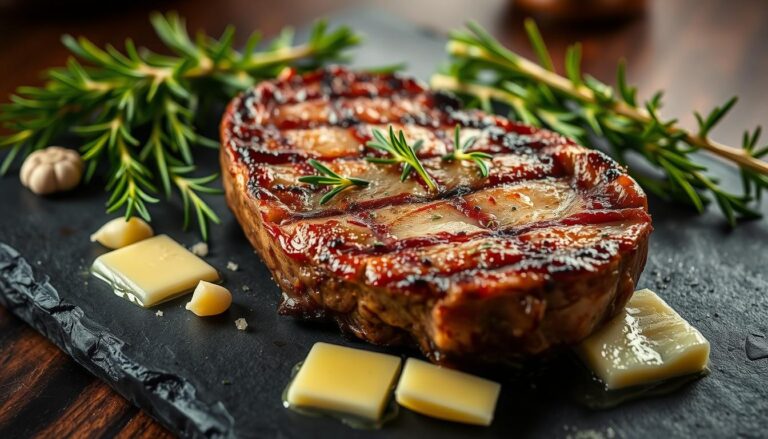
Searing for a Perfect Crust
Heat a cast-iron skillet over medium-high until water droplets sizzle. Add a high-smoke-point oil like avocado. Carefully lay the meat in the pan, it should hiss immediately. Sear for 2-3 minutes per side without moving it.
A golden-brown crust forms when the surface reaches 300°F. Use tongs to flip once, preserving the caramelized layer. For accuracy, insert a meat thermometer 135°F yields medium-rare.
Rest the cooked beef on a cutting board for 5-7 minutes. This redistributes juices, preventing dryness. Pair with roasted veggies or a light salad for contrast.
Essential Ingredients and Flavor Enhancers

The magic of a memorable meal lies in the details especially what you add before the pan even heats up. From zesty marinades to aromatic herbs, these elements transform simple dishes into standout experiences. Let’s explore how to layer flavors for maximum impact.
Herbs, Spices, and Marinades
Fresh rosemary and thyme add earthy depth, while smoked paprika brings a subtle kick. For marinades, combine garlic, olive oil, and a splash of balsamic vinegar. Let the meat soak for at least 30 minutes this tenderizes and infuses flavor.
Using Onion Gravy and Alternatives
Prepared mixes like McCormick Onion Gravy save time without sacrificing taste. For a homemade version, sauté sliced onion until caramelized. Whisk in a cup of broth and thicken with a cornstarch slurry (1 tablespoon starch + 2 tablespoons water). Mushroom gravy works equally well for earthy undertones.
Pairing with Creamy Mashed Potatoes
Buttery mashed potatoes balance the dish’s richness. Use Yukon Golds for natural creaminess no heavy cream needed. Add roasted garlic or chives for extra flair. “The contrast of silky potatoes and savory gravy creates harmony on the plate,” says one home chef.
Diverse Cooking Methods for Every Appliance
Your kitchen tools shouldn’t limit your culinary creativity. With the right approach, you can turn one base recipe into multiple delicious meals using whatever equipment you own. Let’s explore how to adjust techniques for different appliances while keeping flavors bold and textures tender.
Instant Pot and Slow Cooker Options
For hands-off meals, layer 1-inch pieces in your slow cooker with broth and seasonings. Cook on low for 6-8 hours—the extended cook time breaks down fibers naturally. Instant Pot users can pressure-cook for 45 minutes with quick release. Always sear meat in a hot pan first for richer flavor.
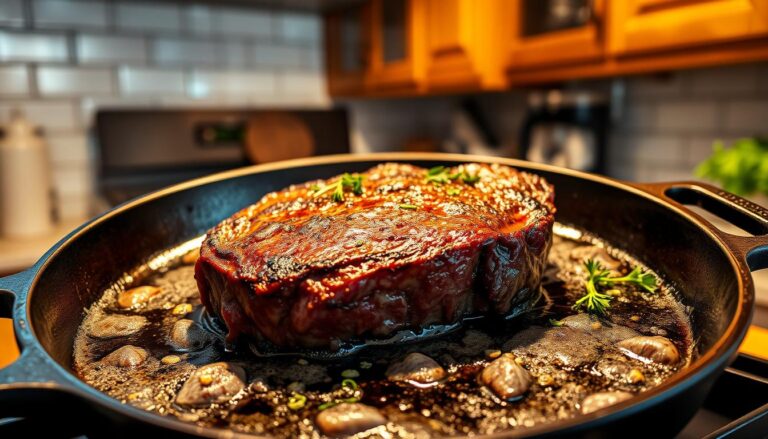
Pan, Oven, and Air Fryer Techniques
Slice beef into 2-3 smaller pieces for even cooking in fast methods. Sear in a skillet for 3 minutes per side, then finish in a 325°F oven for 15 minutes. Air fryer fans: Cook at 400°F for 8-10 minutes, flipping halfway. “The same recipe adapts beautifully across appliances just watch the clock,” advises a home cook.
Busy weeknight? Use quick methods. Weekend project? Let the cooker work. Either way, you’ll get juicy results without babysitting the stove. Adjust minutes based on thickness, and always let meat rest before slicing.
Creating Rich, Savory Gravy and Complementary Sides
A rich gravy can elevate your meal from good to unforgettable. It transforms pan drippings into a velvety sauce that ties every element together. Follow these steps to build depth of flavor while balancing textures with simple sides.
Step-by-Step Gravy Preparation
- Collect drippings: After cooking your meat, keep ¼ cup of fat and browned bits in the pan. This forms the gravy’s flavor base.
- Deglaze: Pour 2 cups of beef broth into the hot pan, scraping the bottom with a wooden spoon to loosen caramelized bits.
- Add seasoning: Stir in 1 packet of onion soup mix or 2 tablespoons of homemade soup mix (garlic powder, onion flakes, paprika).
- Thicken: Whisk 3 tablespoons of cornstarch with ¼ cup cold water. Slowly pour into the simmering liquid while stirring constantly.
- Enhance richness: For extra silkiness, swirl in 1 tablespoon of butter or reserved fat. Simmer 3-4 minutes until glossy.
- Adjust consistency: Too thick? Add broth 1 tablespoon at a time. Too thin? Cook 1-2 minutes longer.
Pair your gravy with creamy mashed potatoes or buttered egg noodles. For freshness, serve roasted carrots or garlic green beans on the side. “The secret is balancing richness with bright, crisp textures,” notes a Texas-based chef. This recipe ensures your gravy becomes the star not an afterthought.
Storing, Serving, and Nutrition Insights
Great meals don’t end when the cooking stops how you handle your dish afterward impacts flavor and safety. Let’s explore simple ways to preserve quality, serve confidently, and balance nutrition without sacrificing taste.
Proper Resting and Serving Strategies
Let your meat rest 5-7 minutes after cooking. This allows juices to redistribute, preventing dryness when sliced. Serve it against the grain for maximum tenderness look for visible muscle lines and cut perpendicular to them.
Store leftovers within 2 hours of cooking. Use airtight containers or wrap tightly in foil. Refrigerate for up to 3 days, or freeze portions for 2-3 months. Pro tip: Slice leftovers into thin pieces for sandwiches or stir-fries to save time later.
Balancing Nutrition and Portions
A 4-ounce cooked portion typically contains:
| Nutrient | Amount | Daily Value* |
|---|---|---|
| Calories | 210 | 10% |
| Protein | 32g | 64% |
| Sodium | 65mg | 3% |
Pair with roasted onions or steamed veggies to add fiber. Limit added salt by using cracked black pepper and herbs for seasoning. Most adults need 5-6 ounces per serving adjust based on your activity level.
“Understanding nutrition facts helps you enjoy meals mindfully,” notes a USDA-certified chef. Use these guidelines to create balanced plates while savoring every bite.
Conclusion
Turning affordable beef into tender, memorable meals is simpler than you think. This guide has equipped you with everything from selecting quality cuts to mastering slow-cooker techniques and pan-searing tricks. Whether you prefer rich onion gravy or garlic-infused recipes, the right prep work transforms lean meat into succulent dishes.
Remember: proper seasoning and heat control make all the difference. Pair your main course with roasted potatoes or steamed veggies for balanced nutrition. Experiment with different cookers pressure methods save time, while oven roasting deepens flavors.
Track cooking minutes carefully, and don’t skip resting meat before slicing. Leftovers? Store them properly for quick stir-fries or sandwiches later. With these methods, you’ll create protein-packed meals that satisfy without straining your budget.
Now it’s your turn. Try a new recipe this week maybe that savory onion soup version or a pepper-crusted skillet creation. Share your triumphs with friends, and relish the pride of serving hearty, homemade dishes. Good food starts with bold choices, and you’ve got all the tools to succeed.
FAQ
How do I choose the best cut for a tender result?
Look for top round or eye round with even marbling and a bright red color. Thicker cuts (1–1.5 inches) hold moisture better during cooking. Avoid pre-cut packaged options if they appear dry or discolored
Can I substitute ingredients if I don’t have onion soup mix?
Yes! Combine minced garlic, onion powder, paprika, and a pinch of salt for a similar savory flavor. For depth, add a splash of Worcestershire sauce or soy sauce to your gravy base.
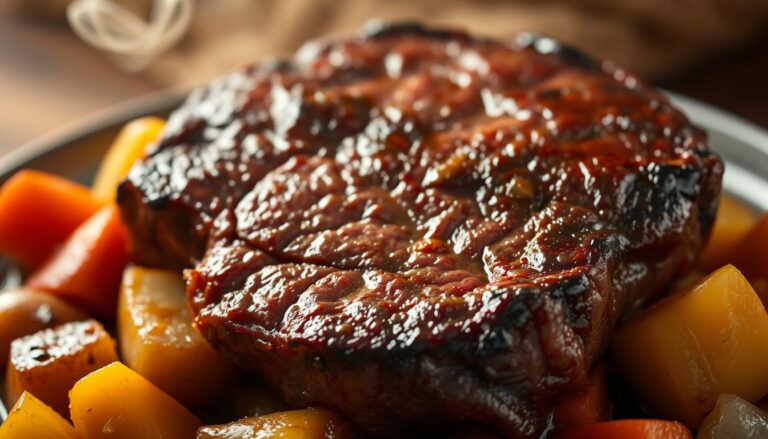
What’s the ideal cook time in a slow cooker?
Cook on low for 6–8 hours or high for 3–4 hours. Add vegetables like carrots or celery halfway through to prevent mushiness. Always sear the meat first for richer flavor.
How do I prevent the gravy from becoming lumpy?
Whisk flour or cornstarch into warm broth before adding it to pan drippings. Cook over medium heat, stirring constantly, until thickened. Strain if needed for a silky texture.
Is this protein suitable for meal prep?
Absolutely. Slice cooked beef thinly and store it in airtight containers with gravy for up to 4 days. Reheat gently to avoid overcooking. Pair with mashed potatoes or rice for quick meals.
What’s the calorie count per serving?
A 4-ounce portion with gravy averages 280–320 calories, depending on ingredients. Use lean cuts and low-sodium broth to reduce fat and sodium content without sacrificing taste.
Can I air-fry this cut for a crispy finish?
Yes! Coat seasoned pieces with olive oil and cook at 400°F for 10–12 minutes, flipping halfway. For extra crunch, dust with a light layer of cornstarch before frying.
How long should leftovers stay fresh?
Store cooled meat and gravy separately in the fridge for up to 3–4 days. Freeze portions in freezer-safe bags for up to 3 months. Thaw overnight before reheating.